.png)
Enhance Your Amazon Linux Experience by Creating Custom Application Menu Entries
- LJD Bleasdille
- Aug 29, 2025
- 3 min read

Creating a custom application menu entry on Linux can greatly improve your user experience. It allows quick access to your favorite applications right from the menu. Whether you're looking to add a single software tool or customize your entire interface, this guide will help you easily add an application icon in Amazon Linux.
Understanding the Menu Structure
Before we start, it is important to know how the Linux menu structure operates. Linux utilizes `.desktop` files to manage application entries in the menu. These files contain key details like the application name, icon, and the command to execute.
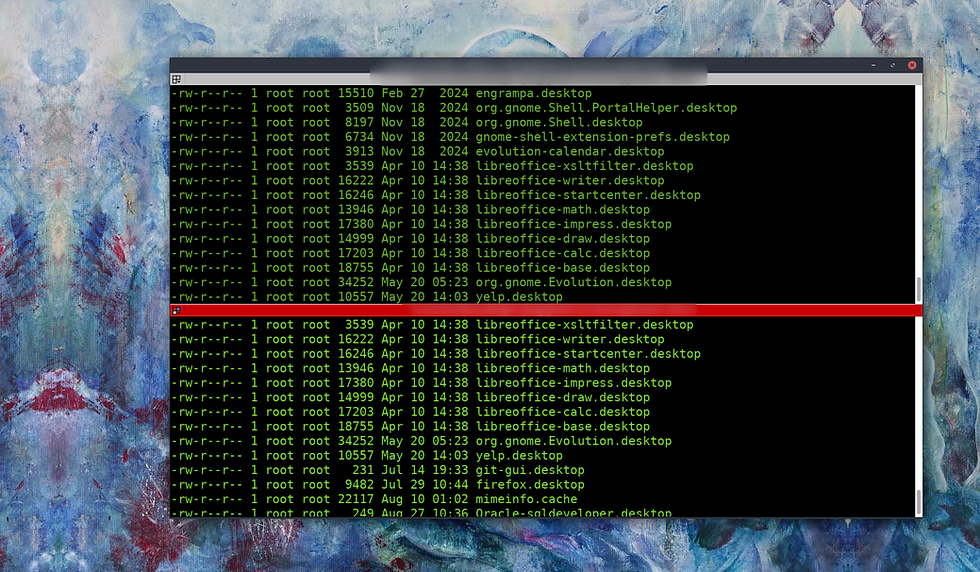
Each `.desktop` file is generally found in one of these two locations:
`/usr/share/applications/` for applications accessible by all users.
`~/.local/share/applications/` for applications specific to your user account.
For instance, if you want to add a new text editor that you frequently use, creating a `.desktop` file will help you standardize its availability on the menu.
Navigate to the Applications Directory
For a user-specific entry, go to `~/.local/share/applications/`. To make it available for all users, navigate to `/usr/share/applications/`.
cd ~/.local/share/applications/
// Add the new .desktop File to the both above locations. See how to create below.
Creating a .desktop File
To create your custom application menu entry, follow these simple steps:
Open a Terminal: Find the terminal in your applications menu or use the `Ctrl + Alt + T` shortcut.
Name: The displayed name in the menu.
Comment: A short summary of what the application does.
Exec: The exact command to launch the application.
Icon: The path where the application's icon is stored.
Terminal: Set to `true` if the application needs a terminal window.
Type: Should always be `Application`.
Categories: Helps classify the application in the menu.
Example below:
    [Desktop Entry]
    Version=1.0
    Type=Application
    Name=IntelliJ IDEA
    Icon=/path/to/your/intellij/installation/bin/idea.png
    Exec=/path/to/your/intellij/installation/bin/idea.sh
    Comment=IntelliJ IDEA IDE
    Categories=Development;IDE;
    Terminal=false
    StartupNotify=true
Save the file from the command line
// write and quit.
:wq
Making the .desktop File Executable
After your `.desktop` file is created, making it executable is essential for it to appear in the menu.
Change Permissions: Use the following command to add executable permissions:
chmod +x yourapp.desktopCheck existence
// You should be able to see the file here
ls -ltr ~/.local/share/applications/yourapp.desktop

// Remember to copy it to the application menu
cp ~/.local/share/applications/yourapp.desktop /usr/share/applications/
Refreshing the Menu
Usually, the menu refreshes automatically. If you don't see your new entry, logging out and back in, or restarting your system, may help.
Try
update-desktop-database ~/.local/share/applicationsLog out and back in - this refreshes the menu entries.
Testing Your Application Entry
To see if your application entry is functional:
Open the Applications Menu: Look for your application listed in the menu.
Launch the Application: Click the icon to test if it opens as intended.
If everything is done correctly, your application will now be easily accessible from the menu.
Troubleshooting Common Issues
If your application doesn't appear or doesn't launch, consider these troubleshooting tips:
Check the File Path: Ensure that the paths you specified in the `Exec` and `Icon` fields are accurate.
Review Permissions: Confirm that the `.desktop` file is executable.
Inspect the Syntax: Double-check for any typos or syntax mistakes in the `.desktop` file.
Additional Note on Icons
If your application does not have an icon, you can easily generate one with any number of AI tools and download. Once created, copy it to the same directory as the application and put the path in the .desktop file.
Wrapping Up
Creating a custom application menu entry on Linux is a straightforward and effective way to enhance your workflow. Following these steps allows you to quickly add applications to the menu in Amazon Linux. Not only does this save time, but it makes your desktop environment more user-friendly and tailored to your preferences.
With practice, you can further customize your Linux experience, transforming it into a powerful productivity tool. Enjoy a cleaner and more organized application menu!


Comments